BD845-PWB - Programming guide
How to program the board with an updated/custom firmware.
Being an open-hardware/open-source project you can upload a custom/updated firmware onto this board. Here is a guide to help you through this process.
You can find the latest firmware here.
We rarely release firmware updates since it is a very cumbersome procedure for end-users to update it. We release firmware updates only when critical and feature-breaking bugs are addressed. We hope not to do it!
This guide is mainly addressed to people who want to customize the firmware.
Table of contents
Prerequisites
Before programming you need some equipment and to setup your system.
Hardware requisites
The board does not come with an on-board programmer or a USB port (like Arduino). You will need an external programmer to flash the firmware.
There a few alternatives:
- STMicroelectronics STLink/V2: the most expensive option but it is the original ST programmer.
- STLink/V2 Clone: a clone of the original, way cheaper but comes with less features.
You can find both of them fairly easy on websites like Amazon.
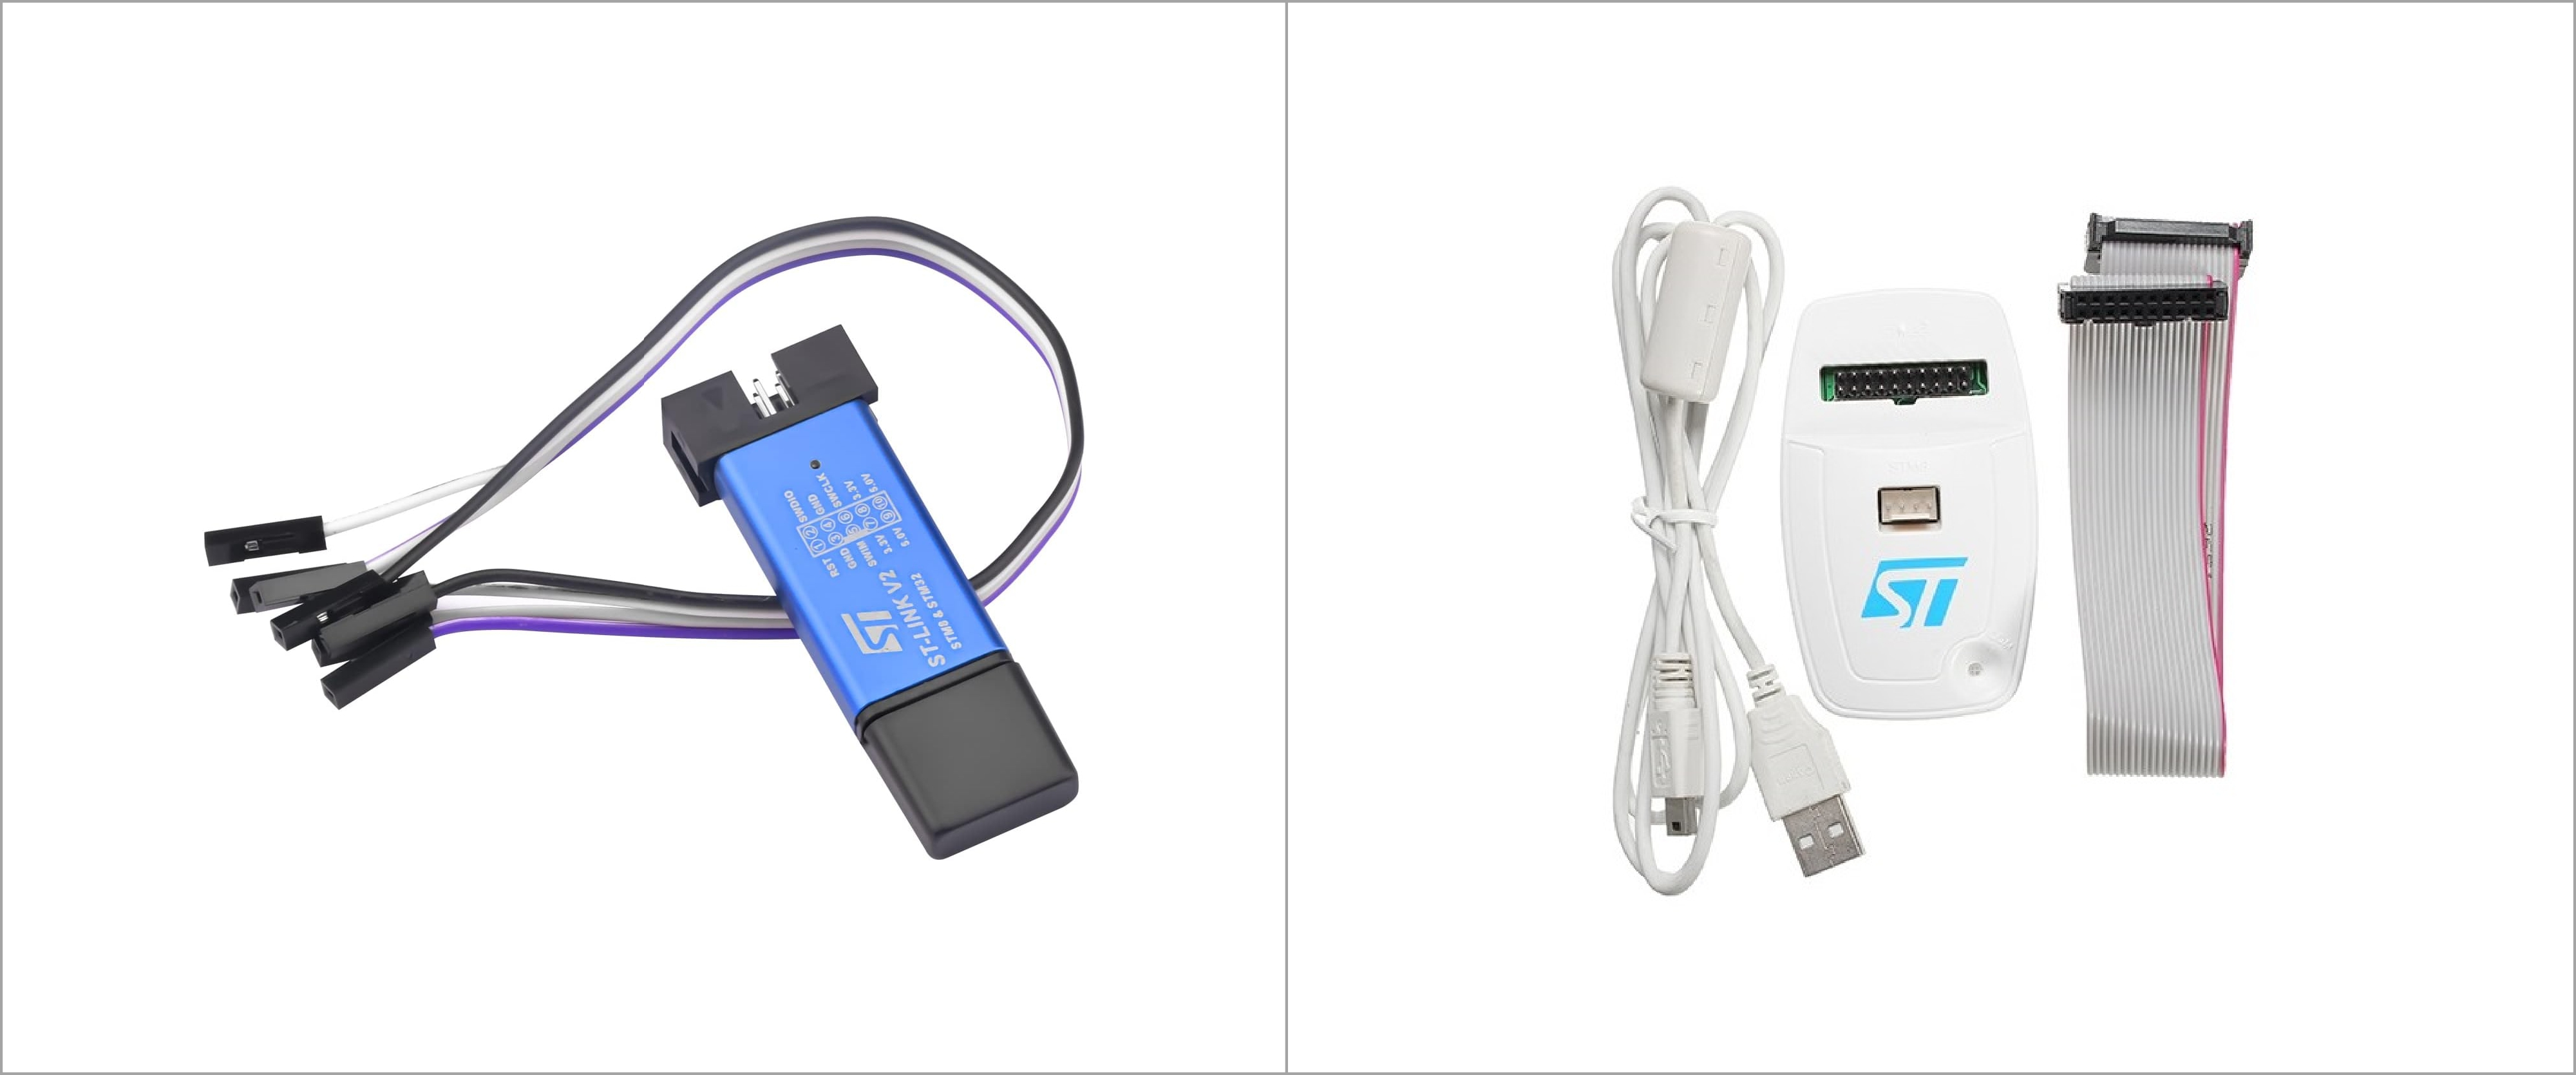 STLink/V2 Clone on the left. Original STLink/V2 on the right.
You will also need 5 jumper wires with female connectors on both sides.
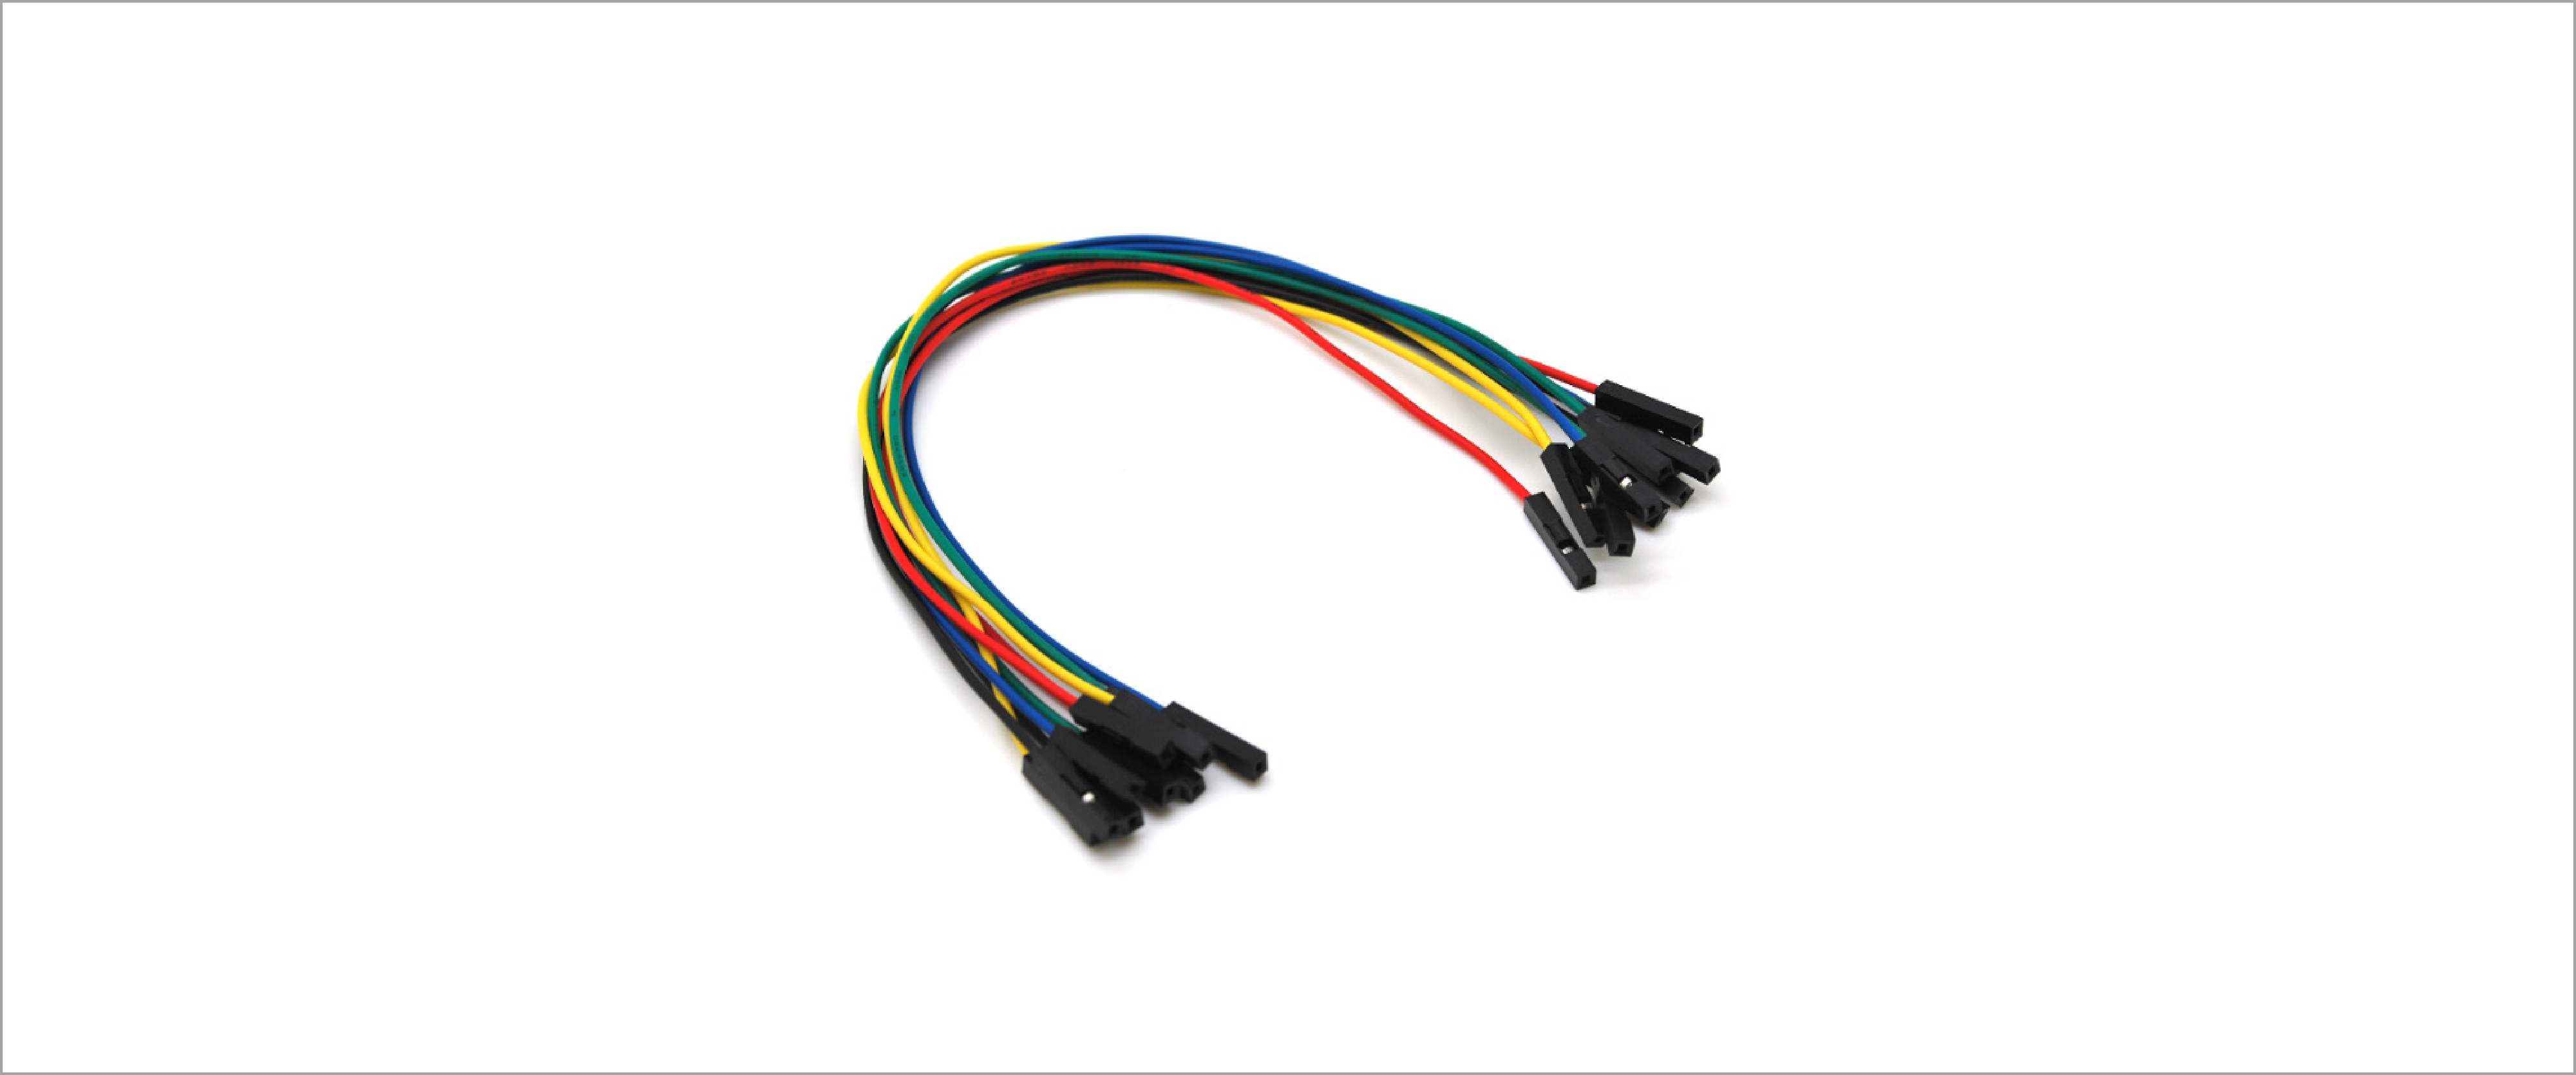 Required jumper wires.
Software requisites
- Install git: this is required to clone the repository with the firmware code.
- Install PlatformIO CLI: this is required to build and upload the firmware to the board.
We decided to use PlatformIO which is a tool that helps managing projects for embedded systems. It is very easy to use and also comes with a cool support for Visual Studio Code turning it into an embedded developer IDE.
Programming procedure
1. Get the code and build it.
First you need to get the code from github. In the terminal write the following command:
git clone git@github.com:bluedot-arcade/bd845-pwb-firmware.git
then move to the project folder:
cd bd845-pwb-firmware
select the release tag you want to upload by typing the following command:
git checkout v1.0.0
Replace v1.0.0 with the version you want to build. You can see the latest version here.
You now need to build the project by typing the following command:
platformio run
If successful ====[SUCCESS]=== will be printed on the terminal.
This will create a folder named .pio with all the built files.
2. Connect the programmer to the board
Connect the external programmer to the board. You can either use jumper wires or a TC2030 TagConnect cable. Jumper wires are probably the most accessible option.
The MCU requires a +3.3V. Programmers often come with both +3.3V and +5V. Only the +3.3V is required.
Double check connections before powering it up! Inverting the polarity of the power pins or supplying an higher voltage than +3.3V will damage the board!
Connect the wires according to the following pinout diagram. Jumper wires connect to the SWD header in the picture.
 Pinout of the programming headers. Check here for the full pinout.
3. Connect the programmer to the computer
Connect the programmer to the computer with the USB cable. You will probably be required to install the programmer drivers. Check the programmer documentation.
When connected properly the POWER LED on the board will light up.
4. Flash the firmware
Following the last command on step 1 enter the following command into terminal:
platformio run --target upload
If successful ====[SUCCESS]=== will be printed on the terminal.
You now have your custom/updated firmware already running onto the board. Disconnect the wires from the board. That’s it.